Before You Go Solar, Read This
Everything a homeowner or small business owner needs to know before installing a rooftop solar system — written in plain language by engineers who’ve seen what goes wrong.
What’s inside
Bigger is not always better — why smaller, tested panels win at home
The solar industry has been moving toward larger and larger panel formats — 700W, 800W, even 1000W monsters — to solve a commercial problem: fitting more power onto limited rooftop space in utility-scale and C&I projects. But that engineering trade-off doesn’t apply to you if you have enough rooftop area.
For a domestic rooftop, the sweet spot is the tried-and-tested Mono PERC technology in the 500–590W range (typically 2m × 1m panel size). These panels have been manufactured and field-tested for years. Independent labs like KIWA PVEL have extensive degradation data on them. Their physical size means the glass, aluminium frame, and cell interconnects are under less mechanical stress — which directly translates to fewer microcracks over time.
✅ Recommended for Homes
- Mono PERC technology
- 500W – 590W wattage range
- Standard 2m × 1m format
- ALMM-listed manufacturer
- Tier 1 / KIWA PVEL Top Performer
- Verified A-grade with EL test report
❌ Avoid for Homes
- TOPCon 700W+ large-format
- Unknown / unbranded panels
- Panels not on ALMM list
- No EL test report provided
- Price that seems “too good”
- B-grade / rejected stock
The two lists you must check before buying any panel
The B-grade trap — half the price, double the regret
Every solar panel factory produces two kinds of output: panels that pass all quality tests, and panels that fail. The failures — called B-grade or reject-grade panels — still get sold. And in India, they’re everywhere.
B-grade panels are typically offered at 40–60% of the market price for A-grade equivalents. On first inspection — and even in the first 1–2 years of operation — they can appear identical. The problem shows up quietly, compounding every year.
| Parameter | A-Grade Panel | B-Grade / Reject |
|---|---|---|
| Price (indicative) | Market rate | 40–60% cheaper |
| Year 1–2 Performance | As rated | Often similar |
| Annual degradation rate | ~0.45–0.55%/year | Often 2–3%/year or more |
| Microcrack tendency | Low | High |
| Manufacturer warranty | 25-year output guarantee | None / not honoured |
| EL test report | Available on request | Rarely available |
| ALMM listed | Yes | Often not |
J-hooks alone are a liability — always insist on mid and end clamps
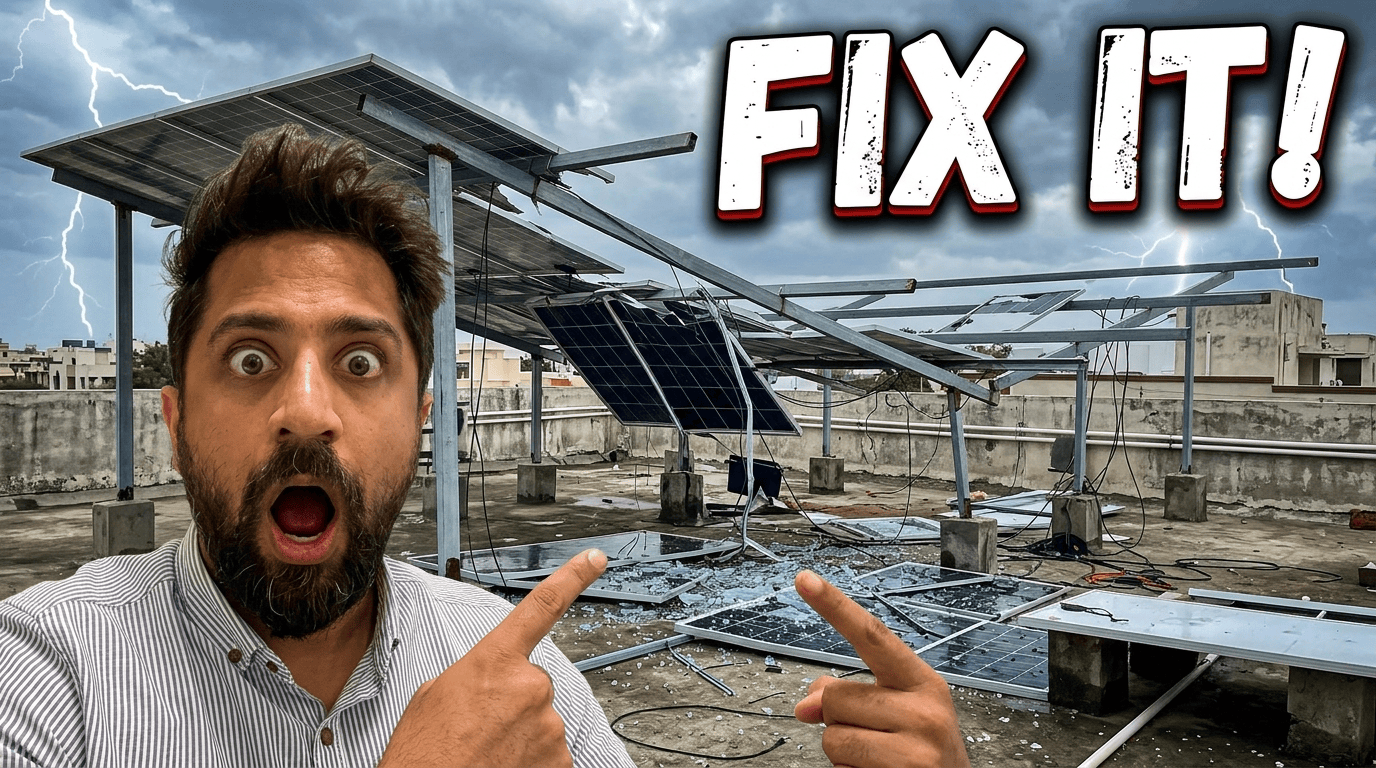
How your panel is fastened to its mounting structure is not a small detail. It is a safety issue. A poorly mounted panel in strong wind doesn’t just stop generating — it becomes a projectile.
Most budget installers use only J-hooks to fasten panels to rail. J-hooks grip the aluminium frame from below, but under lateral wind force, the edge of the frame can deform and detach. The panel slides or lifts off.
J-Hook Only (What to Avoid)
- Holds panel from below only
- Frame edge can deform under load
- Panel can slide along the rail
- In heavy wind, panel can lift off
- Common in budget installations
Mid Clamp + End Clamp (Correct)
- Mid clamp sandwiches panels together at midpoint
- End clamp secures the row’s first and last panel
- Creates a clamped, locked array — no panel movement
- Rated for wind loads per STAAD Pro or equivalent simulation
- Required by IS 16169 for certified installations
Three structure types — pick based on your rooftop reality
The structure that holds your solar panels is the backbone of the entire system. Its material, height, and engineering determine how your panels perform, how long they last, and whether they survive a storm.
In almost all cases, the material should be Hot-Dip Galvanized Iron (HDGI) with 80-micron coating. This level of galvanization provides 20–25 years of corrosion resistance in most Indian climates, including coastal zones. Aluminium structures are lighter but costlier and less rigid for larger arrays.
🔽 Low-Rise / Ballast Structure
Panels sit close to the roof — typically 6–18 inches from the surface. No drilling into the roof required. Very stable and wind-safe. However, you cannot access or use the rooftop space underneath. Ideal for flat RCC roofs where roof penetration is not preferred.
➡️ Mid-Rise C-Channel Structure
Built with C-channel purlins, reaching 4–5 feet in height. Cross bars can extend this to up to 10 feet. Allows some rooftop use underneath. Most common domestic installation choice. Wind load rating depends on member sizing and spacing — must be calculated, not guessed.
🔼 Welded Pipe / High-Rise Structure
Custom fabricated for heights beyond 10 feet. Every welded joint must receive red oxide primer followed by weather paint to prevent corrosion at the weld. Because this is a custom structure, STAAD Pro wind simulation is mandatory before fabrication begins.
Face true south. Tilt to your latitude. Compromise only when forced to.
Solar panels don’t care which direction your house faces. They care about one thing: how directly they point at the sun over the course of a year. In India, that means facing true south and tilting at your latitude angle.
🧭 Orientation: True South
India lies north of the equator, so the sun arcs across the southern sky. Panels must face true south (not magnetic south — correct for declination). Use a compass app with declination correction, or a solar pathfinder tool. Even a 10° deviation east or west costs 1–3% annual generation.
📐 Tilt Angle = Your Latitude
The optimal year-round tilt angle equals your location’s latitude. For Delhi (~28.6°N), this is 28°–30°. Mumbai (19°N) → 18–20°. Bangalore (13°N) → 12–15°. This maximises the annual sun-hours your panels intercept.
| City | Latitude | Optimal Tilt | Practical Tilt (space-constrained) |
|---|---|---|---|
| Delhi / NCR | 28.6° N | 28°–30° | 10°–12° |
| Mumbai | 19.1° N | 18°–20° | 10°–12° |
| Bangalore | 12.9° N | 12°–14° | 10°–12° |
| Hyderabad | 17.4° N | 17°–19° | 10°–12° |
| Chennai | 13.1° N | 12°–14° | 10°–12° |
| Jaipur | 26.9° N | 26°–28° | 10°–12° |
DC-side cables — the most underspecified component in budget solar
DC cables carry high-voltage direct current from your solar panels to the inverter. Unlike AC cables, they spend their entire life exposed to UV radiation, heat, and moisture. The wrong cable doesn’t just lose efficiency — it becomes a fire risk.
The DC side of your solar system operates at voltages ranging from 200V to over 1000V (for string inverters). This means any compromise in cable quality — thin insulation, poor conductor purity, or non-UV-rated jacketing — can lead to insulation failure, arcing, and in worst cases, fires that start on your rooftop.
Three earthing pits, one SPD, one lightning rod — the minimum non-negotiable safety layer
A solar system without proper earthing and surge protection is a time bomb. A single lightning strike within several kilometres — even without a direct hit — can induce surges that destroy your inverter, DCDB, and connected appliances. Proper protection costs a fraction of what it saves.
3 Chemical Earthing Pits — Each Has a Job
Chemical earthing pits use a compound (typically bentonite + graphite or salt/charcoal) to maintain low-resistance grounding year-round, regardless of soil moisture. A single galvanised rod in dry soil is not reliable — in summer, its resistance can spike 10×, making it functionally useless when a surge hits.
SPD in DCDB — Schneider or Equivalent
The Surge Protection Device (SPD) installed inside the DCDB is your first line of defence against transient voltage spikes on the DC side. For residential and commercial solar, we strongly recommend Schneider Electric SPD (or ABB/Phoenix Contact equivalent) — tested to IEC 61643-31 for DC applications.
ESE Lightning Arrestor — Mandatory for Systems Above 50 kW
For systems above 50 kW (and recommended for any large structure in high-lightning-risk zones), an ESE (Early Streamer Emission) Type Lightning Arrestor is essential. Unlike conventional rod-type arrestors, an ESE LA actively emits an upward leader to intercept lightning before it strikes the structure, providing a wider radius of protection. It must be installed at the highest point of the structure and connected to its own dedicated chemical earthing pit.
📋 The Complete Installation Checklist
- Panel brand is on ALMM list (verify on MNRE portal)
- Panel is Mono PERC, 500–590W range for domestic use
- EL test report provided and verified for the batch
- Panel brand appears on KIWA PVEL Top Performers list
- Mid clamps and end clamps used — not J-hooks alone
- Structure material is Hot-Dip Galvanized Iron, 80-micron
- All welded joints on pipe structure receive red oxide + paint
- STAAD Pro analysis completed for any high-rise welded structure
- Panels face true south (compass-verified, declination corrected)
- Tilt angle at latitude (or 10–12° if space-constrained)
- DC cables are solar-rated, minimum 4 sq mm, branded (Polycab etc.)
- MC4 connectors are CE-certified; no mixed brands
- 3 chemical earthing pits installed (LA, ACDB, DCDB)
- Schneider or equivalent certified SPD installed in DCDB
- ESE Type LA installed for systems above 50 kW
- Price suspiciously below market rate with no EL report
- Installer cannot name the panel brand or show ALMM listing
- J-hooks used without mid/end clamps
- No SPD or cheap local SPD with no certification
- Fewer than 3 earthing pits for the entire system